Creating a work order
A work order is one job for one client: what needs to be done, where, and roughly when. Creating one takes a minute.
This article covers the creation itself. Booking the actual visits into the calendar is the next step. See the scheduling article.
Before you start
Two things make this quicker:
- The client should exist under "Clients", with the address where the work will happen.
- The services you want to add should exist in your catalog. See the services article.
Step by step
- 1Click "New Work Order"
Open "Work Orders" in the sidebar on the left, then click the "New Work Order" button in the top-right corner of the page. The "Create Work Order" dialog opens.
- 2Choose the client, the object and the contact person
In the "Client Information" section, open the "Client" dropdown and pick who the job is for: a private person is listed by name, a company by its name with its primary contact person in brackets; typing part of either finds them. Then open "Service Address" and pick the object where the work will happen. If the client has several objects, they are all listed, so choose the right one. Last, open the "Contact person" dropdown under it: it lists the people of that object (or, when the object has nobody of its own, the client's contact persons), primary first and already selected. With a single person the dropdown is greyed out and simply shows their name. The person you pick here is the one contact of this work order: the "Work Orders" list and the calendar name them in brackets, the phone and email shown on the work order are theirs, the technician's "Call" button dials them, and the act of work names them. Later changes to who is primary never move an existing work order; change its contact here when needed.
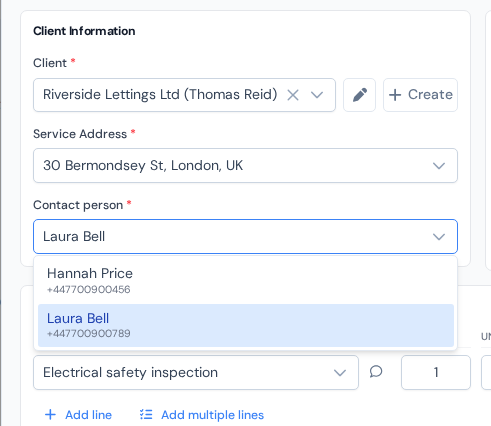
Opened from the "Contact person" dropdown under the address: the object's people, the primary first. - 3Add the services
Under "Planned services", click "Add line" and a new row appears. Pick a service in it; its price and duration fill in automatically. Set the quantity ("Qty") if there is more than one. To put in several services in one go, use "Add multiple lines"; the next section shows how.
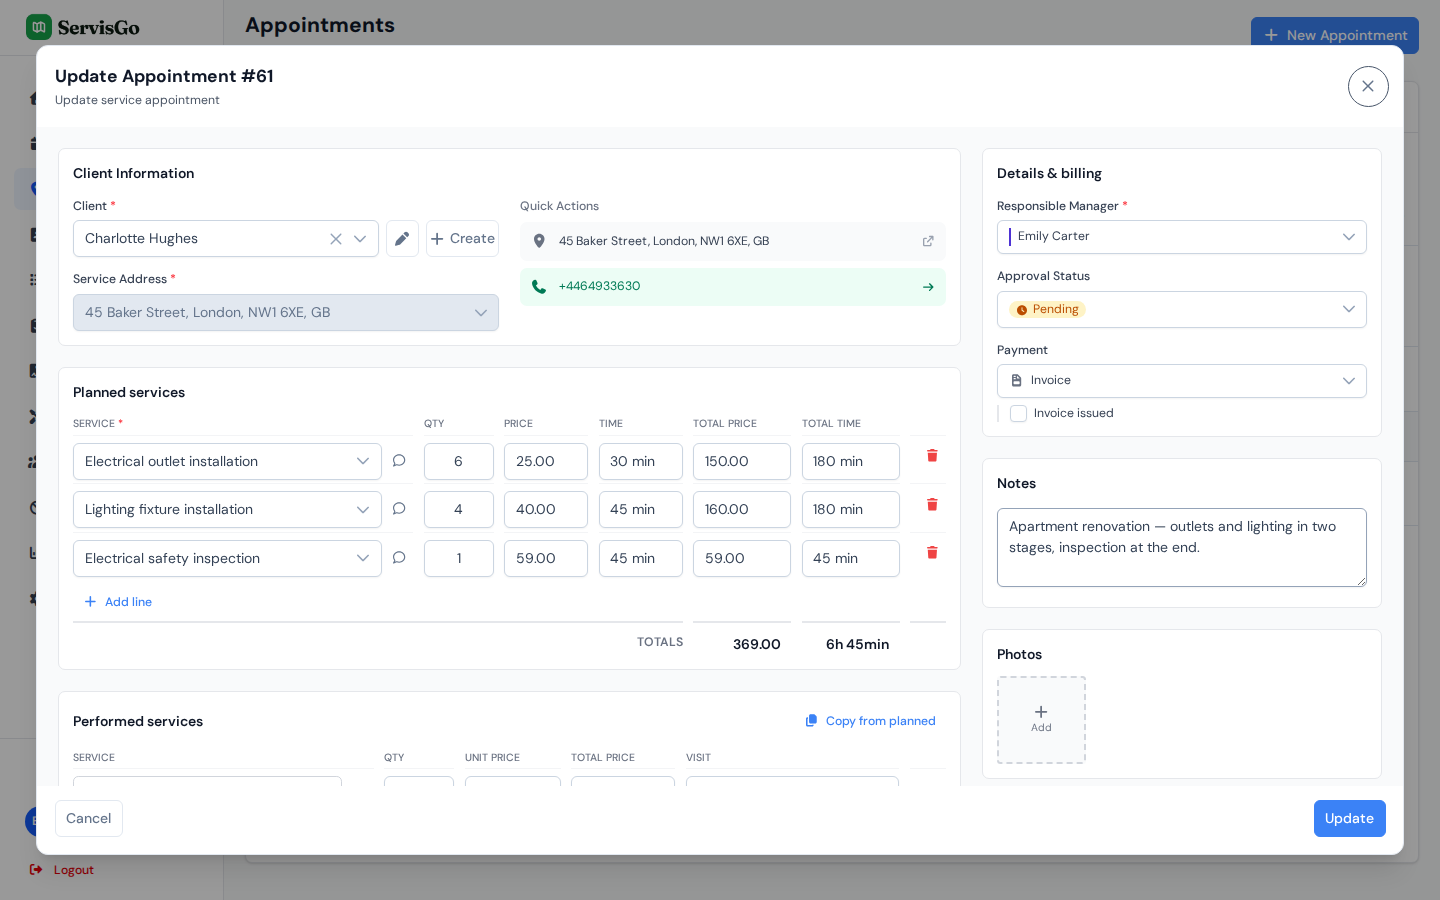
Creating a work order for Charlotte Hughes: planned services with amounts, prices and times. - 4Check the totals
The "Totals" row under the last service line adds up the price and time of all lines. The total time is how much calendar time the job will need. On each line you can edit either the "Unit price" or the "Total Price"; the other recalculates on its own.
- 5Set a planning window (optional)
In the "Scheduling" section, under "Planning window", pick a "Start date" and an "End date" if the job should ideally happen between certain dates. You can leave both empty.
- 6Add notes and save
Write anything the team should know into the "Additional Notes" box, for example "Call before arriving, the intercom is broken." Then press the "Create" button at the bottom of the dialog.
Adding several services at once
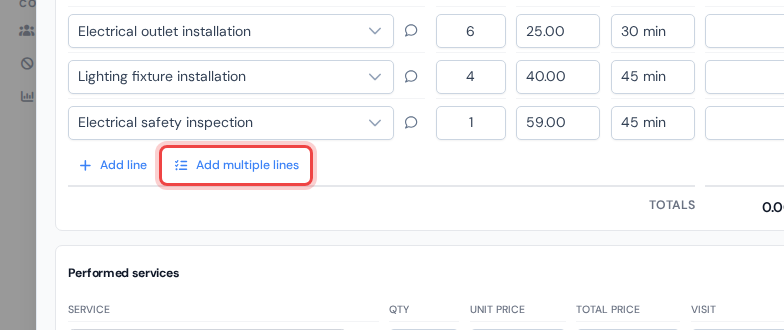
When a job needs more than a service or two, adding lines one at a time gets slow. The "Add multiple lines" button under the service lines opens a small list of your whole catalog instead.
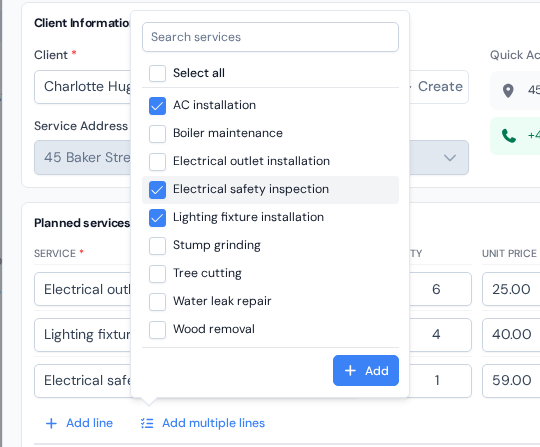
Tick every service the job needs; the search box at the top narrows the list as you type, and "Select all" ticks everything the search currently shows. Press "Add", and each ticked service becomes its own line with its price and duration already filled in, ready to adjust.
Attaching files
Anything the team should have at hand can live right on the work order: a photo of the broken part, the signed offer as a PDF, a floor plan, a spreadsheet. In the work order dialog, the "Files" card sits on the right; click "Add" in it and pick one or several files.
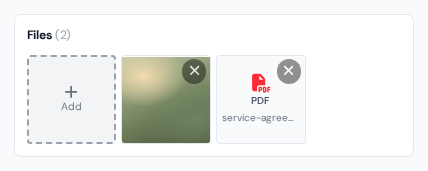
Images, PDF, Word, Excel, CSV and text files are accepted, up to 10 MB each. Photos show as thumbnails and open in a full-screen viewer; documents open in a new browser tab. Drag the tiles around to reorder them, or point at one and click the X to remove it. The changes are applied when you save the work order.
What happens after saving
The new work order appears in the "Work Orders" list with "Not Scheduled" in its "Status" column: it exists, but no visit is booked yet. The list itself does a lot of work for you, with tabs, filters and bulk actions; see working with the work orders list.
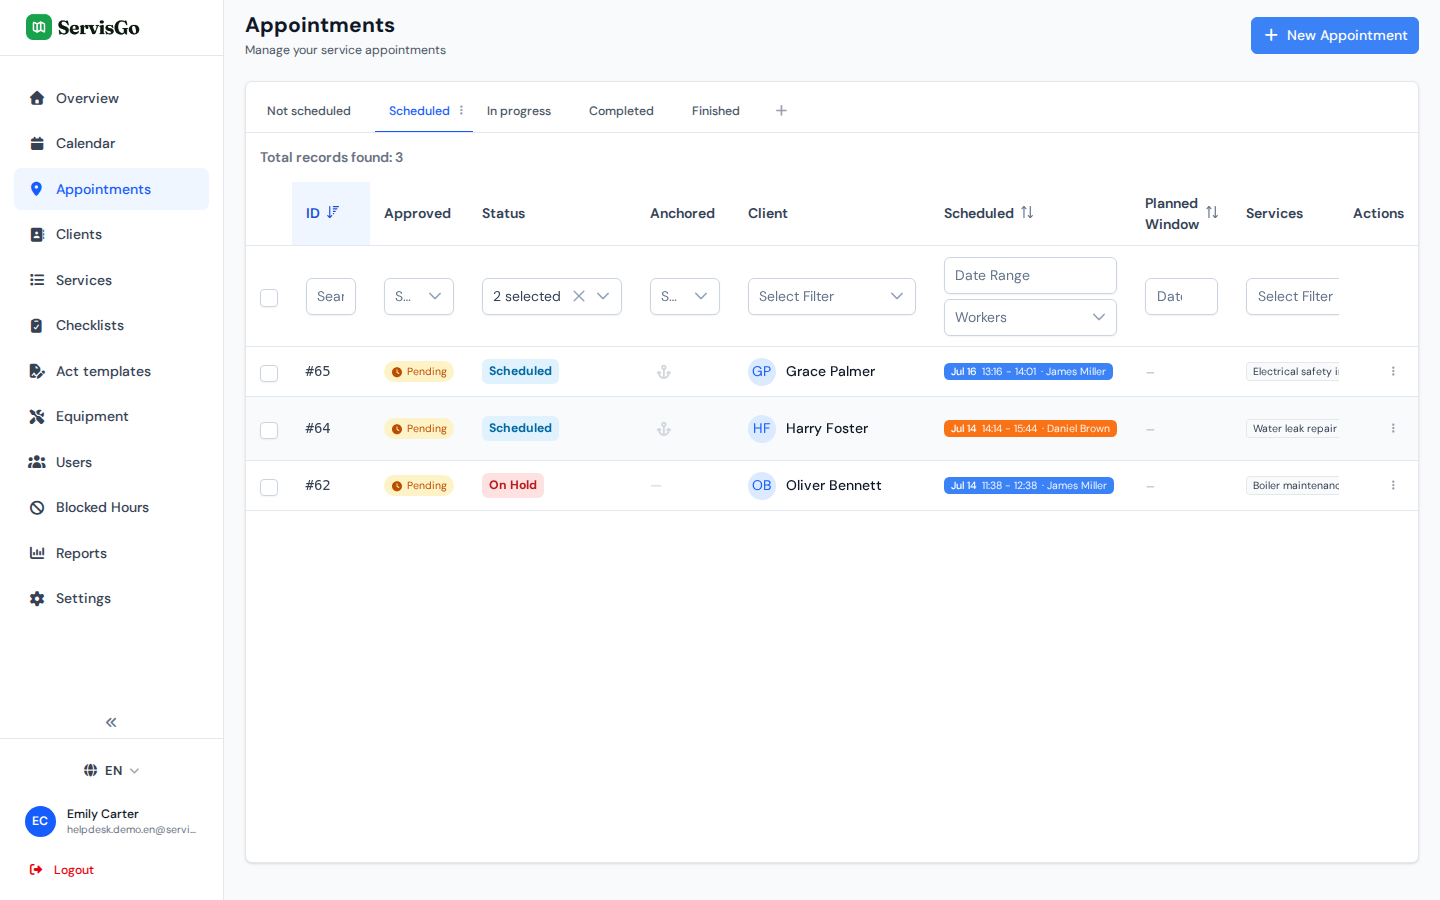
It also joins the "Not Scheduled Work Orders" panel on the Calendar page. Click the small arrow tab at the right edge of the screen to slide the panel out (the orange counter on the tab shows how many work orders are waiting). How to book it, by dragging it into the calendar or letting ServisGo suggest a time, is covered in the scheduling article.