Working with the work orders list
The "Work Orders" page is where every job lives, from the ones nobody has booked yet to the ones already paid. On a busy day you do not want to set up the same view over and over, so the page remembers how you like to see things.
This guide covers the page itself: the tabs at the top, the filters, the menu on each row, copying work orders, and handling many work orders in one go.
Finding your way around
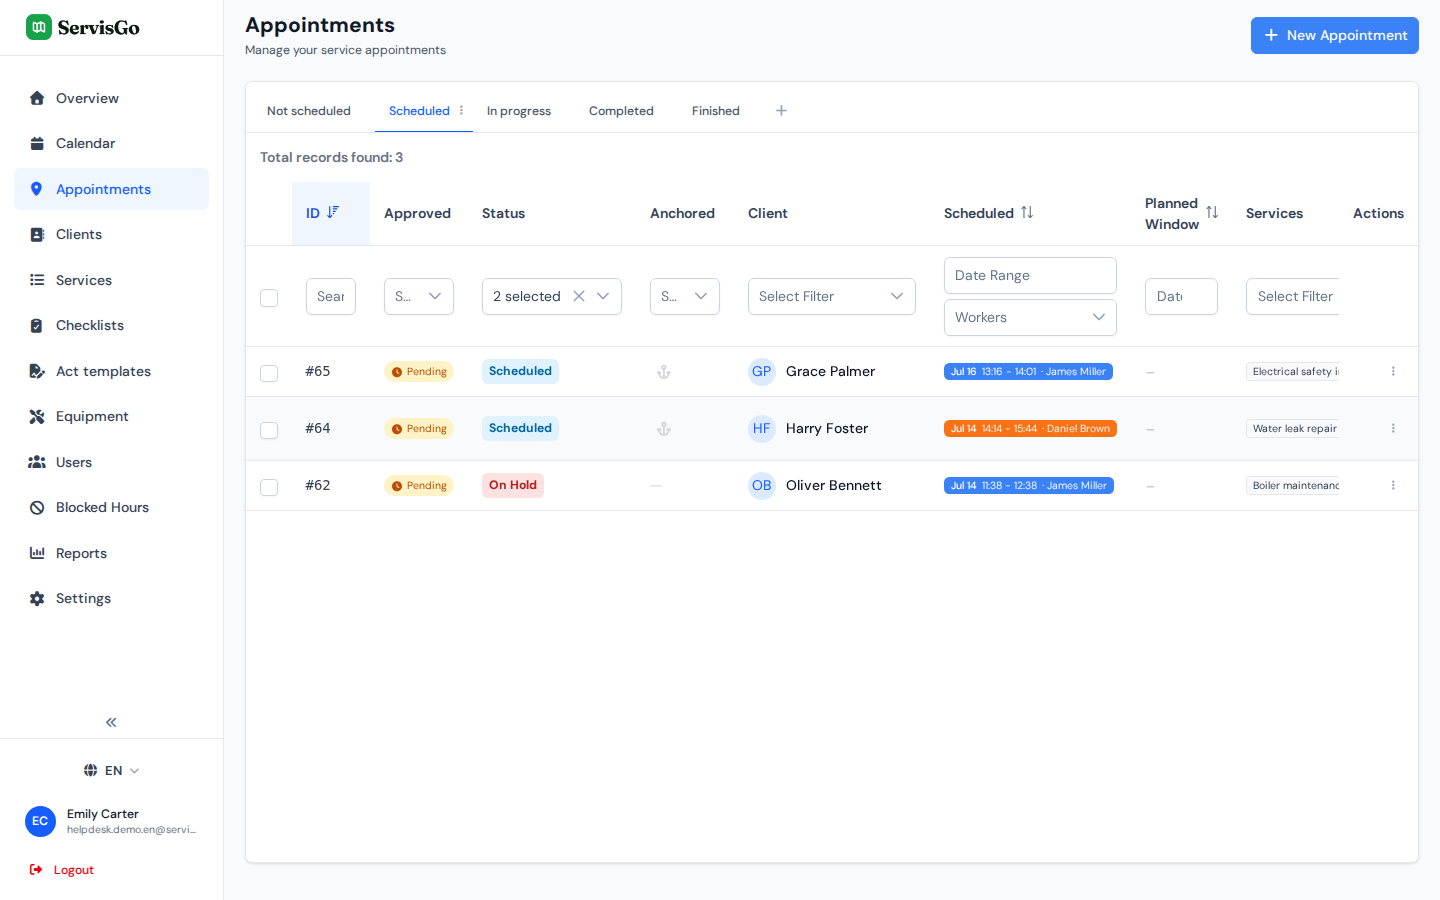
Open "Work Orders" in the left sidebar. Above the table sits a row of tabs; each tab is a saved view of the list, more on that below. Under the tabs, the line starting with "Total records found:" tells you how many work orders the current view holds.
The table itself works like this: every column has a filter box right under its header, the first column has a checkbox for selecting rows, and the last column, "Actions", holds a small three-dot button with everything you can do to that work order. The work order's number in the "ID" column is a shortcut: click it and the work order opens for viewing right away.
Tabs: saved views of the list
A tab remembers two things: which columns the table shows (and in what order) and which filters are applied. Click a tab and the list instantly switches to that view. A new account starts with a single tab named "All": every work order in one list, whatever its status. From there you shape the views you actually need.
They are yours to reshape:
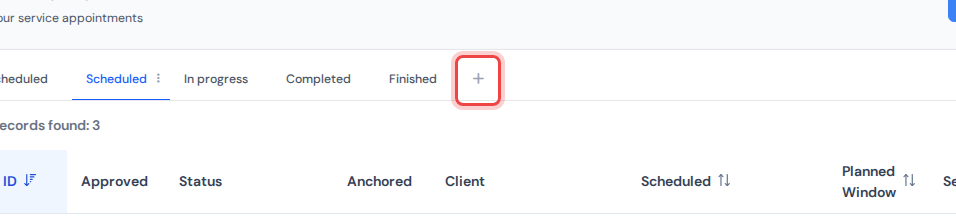
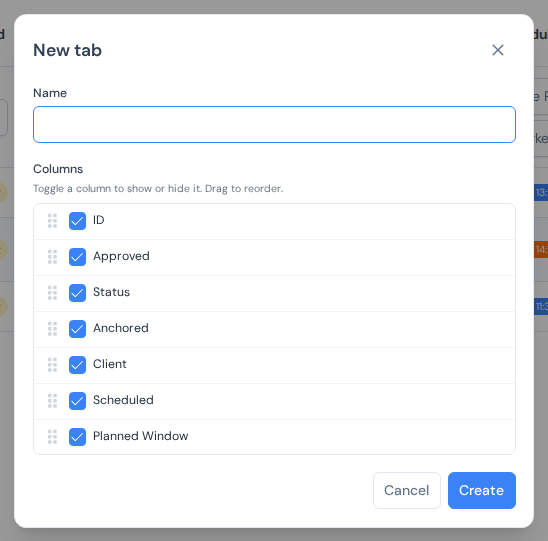
- To add a tab, click the "+" at the right end of the tab row. A dialog named "New tab" opens: type a "Name", then under "Columns" tick the columns the tab should show and drag them into the order you want. Press "Create" and the list jumps straight to your new tab.
- To rename a tab or change its columns, click the small three-dot icon that appears next to the tab's name (it shows when the tab is active or when you point at it). The "Edit tab" dialog opens; press "Update" when done.
- To delete a tab, open that same "Edit tab" dialog and press the red "Delete" button in its corner. The button is there as long as you have more than one tab; the last tab cannot be deleted.
- To rearrange the tabs, simply drag one along the row to a new spot. A short green flash on the tab confirms the new order was saved.
Example: a tab for one status
The most common view is "only the work orders in this status". Here is how to build one for the jobs that already have a visit booked:
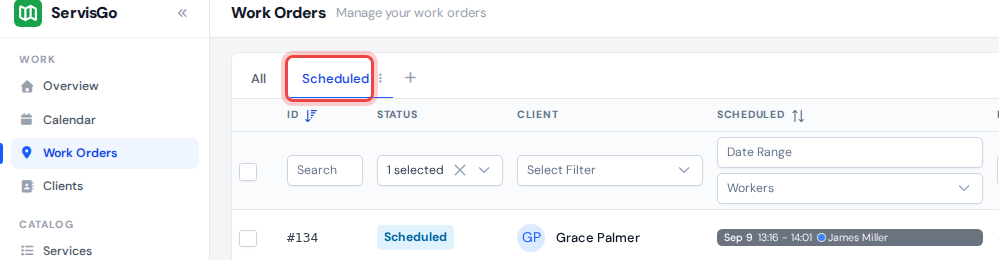
- Click the "+" at the right end of the tab row. In the "New tab" dialog, type "Scheduled" as the "Name", leave the columns as they are and press "Create". The new tab opens, for now still showing every work order.
- In the filter box under the "Status" column header, tick "Scheduled". The list now shows only the work orders with a visit booked.
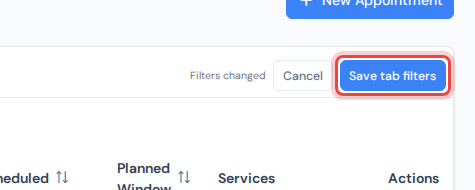
- The right end of the tab row shows "Filters changed". Press "Save tab filters", and the status filter is now part of the tab: click "Scheduled" tomorrow and you get the same list.
Repeat the idea for whatever you look at most: a "Not Scheduled" tab for jobs still waiting to be booked, a "Completed" tab for work that needs invoicing, or a tab for a single technician.
Filters that stay
Use the boxes under the column headers to narrow the list down: pick a client, a status, a date range, a technician. This filters the view right away, but it does not touch the tab yet.
As soon as your filters differ from what the tab has saved, the right end of the tab row shows "Filters changed" with two buttons. "Save tab filters" makes the current filters part of the tab, so they will be back tomorrow. "Cancel" throws your changes away and returns the tab's saved filters.
The menu on every row
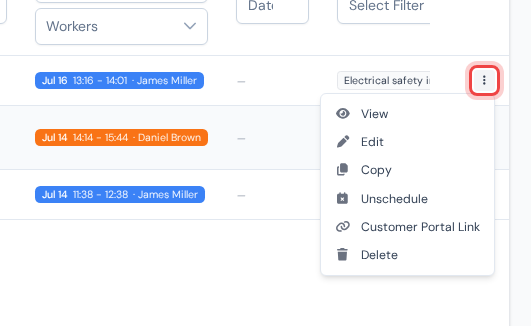
At the right end of each row, in the "Actions" column, sits a three-dot button. Click it and a small menu opens with everything you can do to that work order:
- View
- Opens the work order read-only: services, visits, activity, checklists, acts.
- Edit
- Opens the work order for changes, the same dialog as when creating one.
- Copy
- Creates a copy of the work order, ready to be booked. See the next section.
- Unschedule
- Takes all of the work order's booked visits off the calendar at once. Shown only while the work order has visits booked.
- Customer Portal Link
- Shows the work order's personal client page link, ready to copy. See keeping clients in the loop.
- Delete
- Deletes the work order after a confirmation.
Copying a work order
When a client orders the same job again, there is no need to retype it. Open the row's three-dot menu and click "Copy". The copy is created immediately and opens for editing, so you can adjust anything before saving.
The copy carries over everything that describes the job: the client and address, the planned services with their amounts and prices, the assigned technicians and responsible person, equipment, checklists, notes, the planning window, and photos that were added to the work order at the office.
What it deliberately leaves behind is the first job's history. The copy starts fresh with the "Not Scheduled" status: no booked visits, no recorded work, no checklist answers, no acts of work, no payment.
Handling many at once
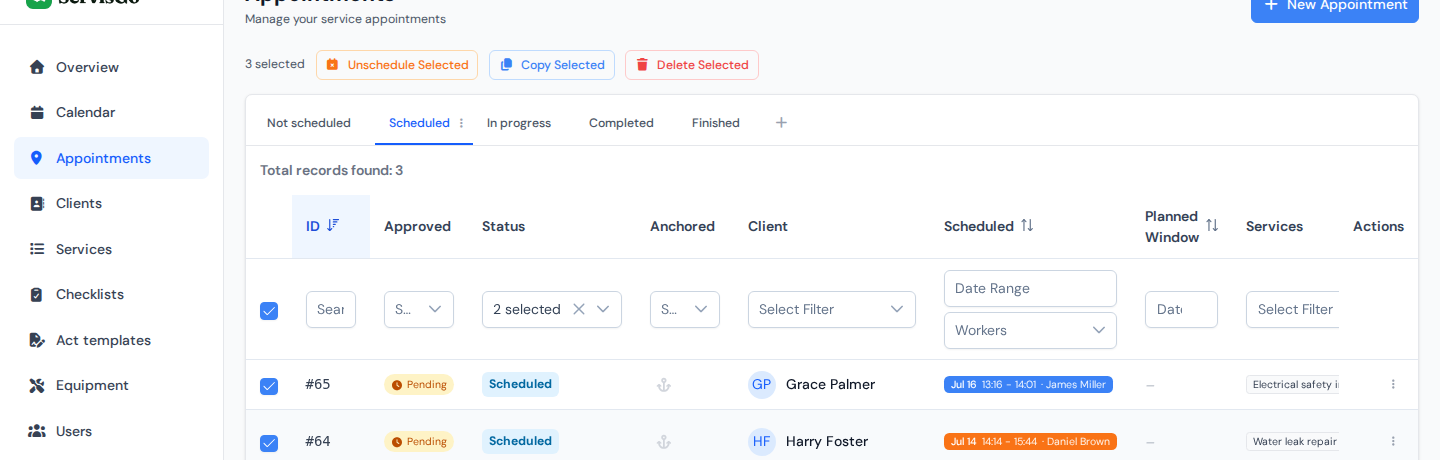
Tick the checkboxes in the first column to select work orders (the checkbox in the header row selects the whole page). A bar appears above the table showing how many are selected, along with the actions that work in bulk:
- "Copy Selected" copies every selected work order in one go.
- "Unschedule Selected" takes the booked visits of all selected work orders off the calendar. The button shows only when at least one selected work order has visits booked.
- "Delete Selected" deletes them all after a confirmation.
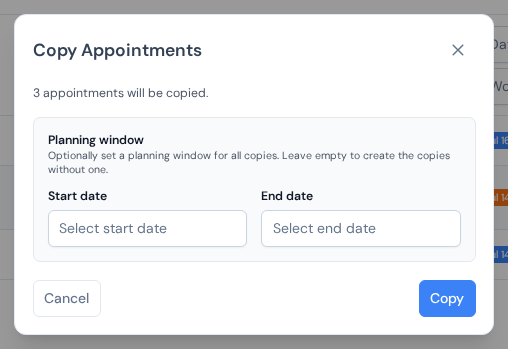
"Copy Selected" opens a dialog named "Copy Work Orders" that tells you how many copies will be made. It also offers a "Planning window" with a "Start date" and an "End date" for all the copies, useful when you are preparing next month's round of recurring jobs in one sweep.