Managing your service catalog
Services are the building blocks of every work order: "Boiler maintenance", "Electrical outlet installation", "Water leak repair", whatever your company does. Each service has a name, a default duration and a price.
Set them up once, and creating work orders becomes a matter of a few clicks.
What a service is
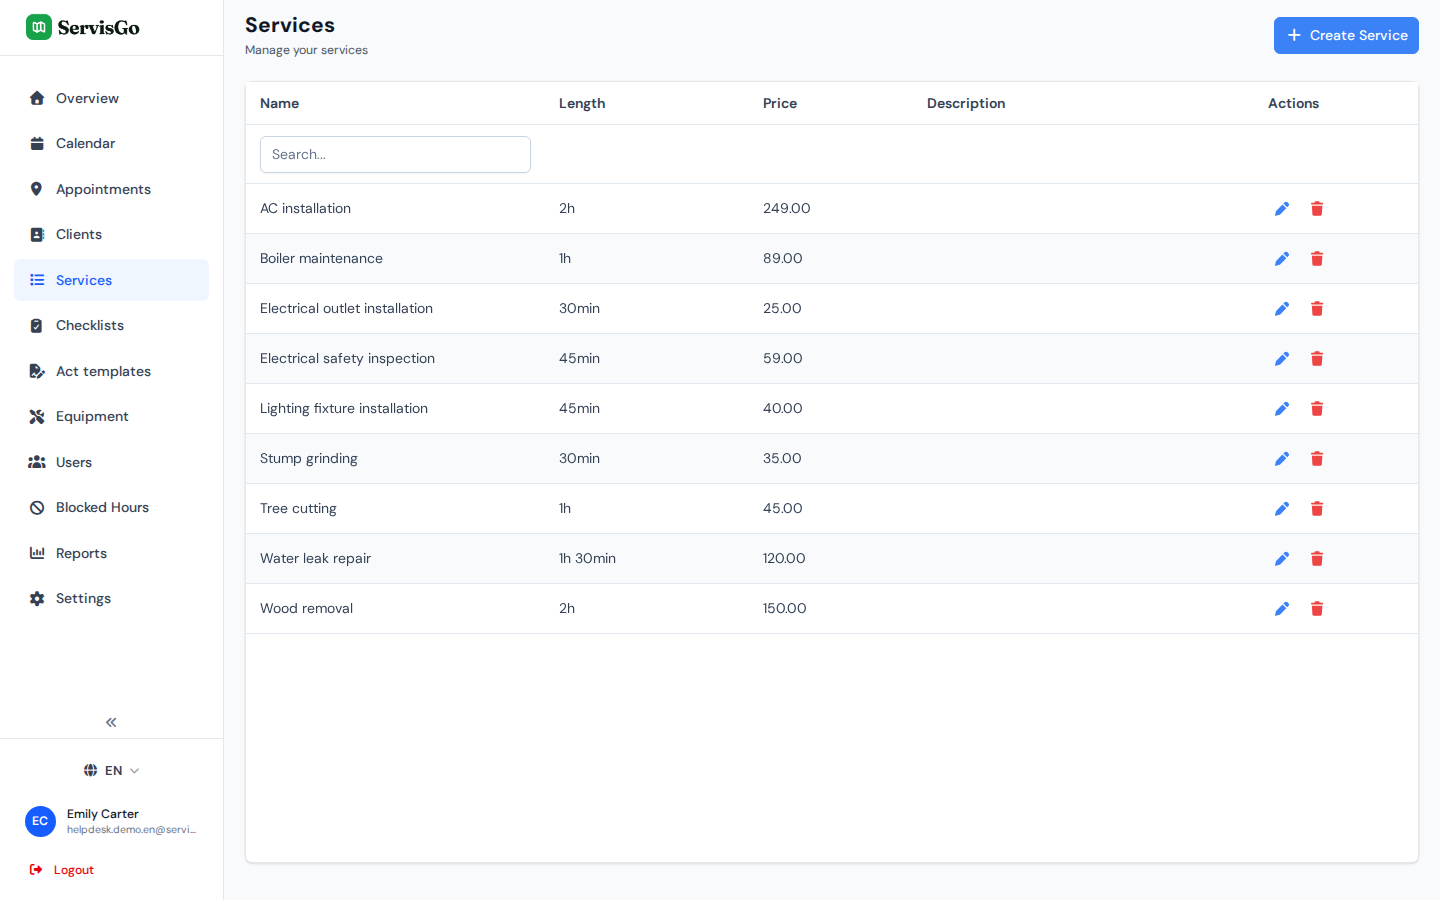
Click "Services" in the sidebar on the left and your catalog opens as a table, one row per service. Every service has three key fields:
- "Service Name": what the job is called, for example "Electrical outlet installation".
- "Default Length": how long the job usually takes, in minutes.
- "Price": what you usually charge for it.
Creating and editing services
- 1Open the Services page
Click "Services" in the sidebar on the left.
- 2Click "Create Service"
Press the "Create Service" button in the top-right corner of the page. A dialog named "Create Service" opens. Fill in the "Service Name", the "Default Length" in minutes and the "Price". The "Description" field is optional.
The "Create Service" dialog: name, default length, price and an optional description. - 3Save
Press "Create" in the bottom-right corner of the dialog. The dialog closes and the service appears in your catalog right away.
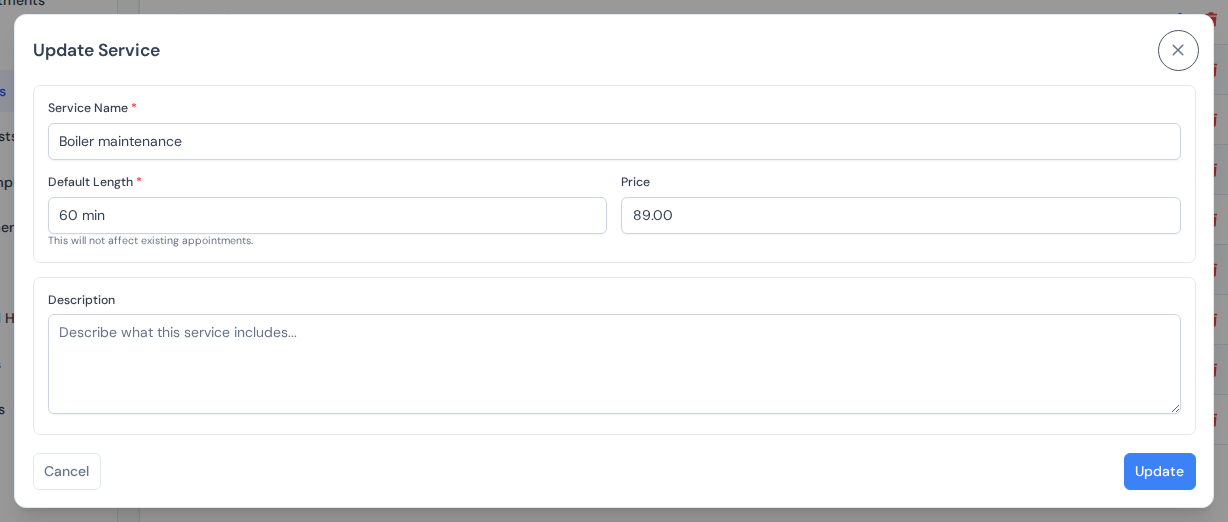
To change a service later, open the three-dot menu at the right end of its row, in the "Actions" column, and pick "Edit". The "Update Service" dialog opens with the current values filled in. Changing the "Default Length" or "Price" will not affect existing work orders, only new ones.
How services fill in work orders
When you add a service to a work order, its duration and price are copied in automatically. Need five outlets installed? Set the quantity to 5 and the totals update on their own.
The copied values are just a starting point: you can adjust the price, time or quantity on any work order line without touching the catalog.
Who can perform which service
You can tell ServisGo which technicians are able to perform each service. This matters when ServisGo suggests times for a work order: it only offers technicians who can actually do the job. See the route planning article for how the suggestions work.
- 1Open "Users" in the sidebar
Click "Users" in the sidebar on the left. This is where your team lives, one row per person.
- 2Edit a technician
Open the three-dot menu at the right end of their row and pick "Edit". The "Update User" dialog opens.
- 3Pick their services
In the dialog, find the "Services" dropdown and select everything this technician can do, then press "Update" at the bottom of the dialog.
If you leave the field empty, the technician is treated as able to provide all services.