Clients and their addresses
Everything in ServisGo starts with a client: work orders belong to them, visits drive to their objects, and documents carry their details.
This guide covers what a client record holds, how contact persons and objects work, and where the company and invoice details fit in.
The client record
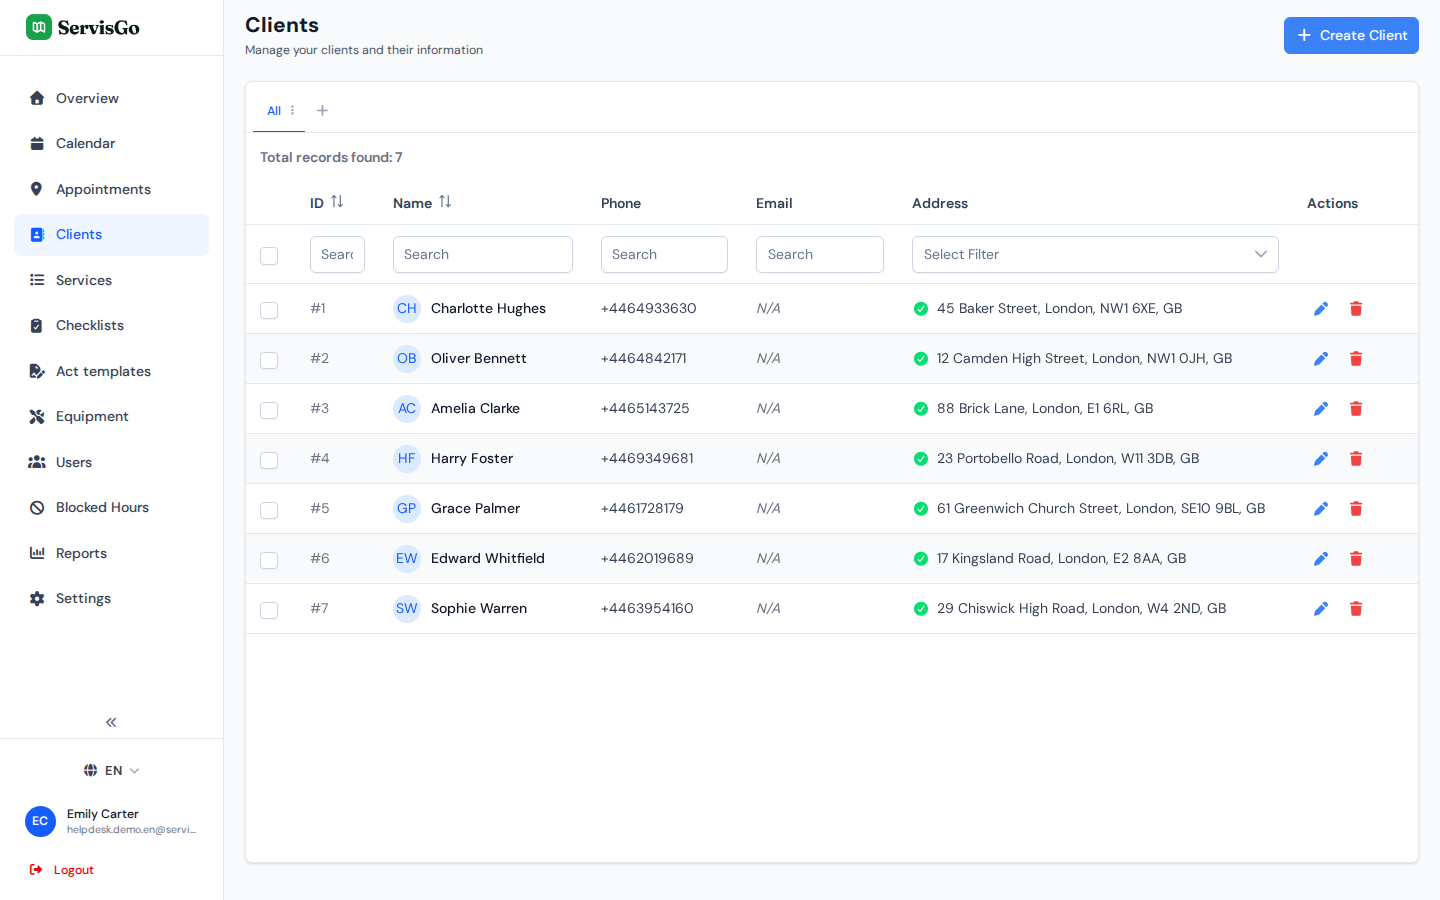
Click "Clients" in the sidebar on the left. The page lists every client with their contact details and address.
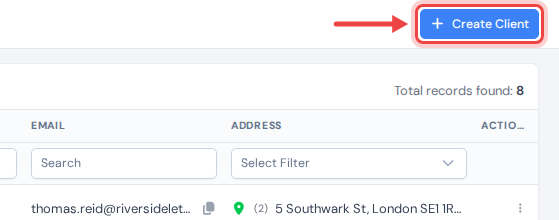
To add a client, click "Create Client".
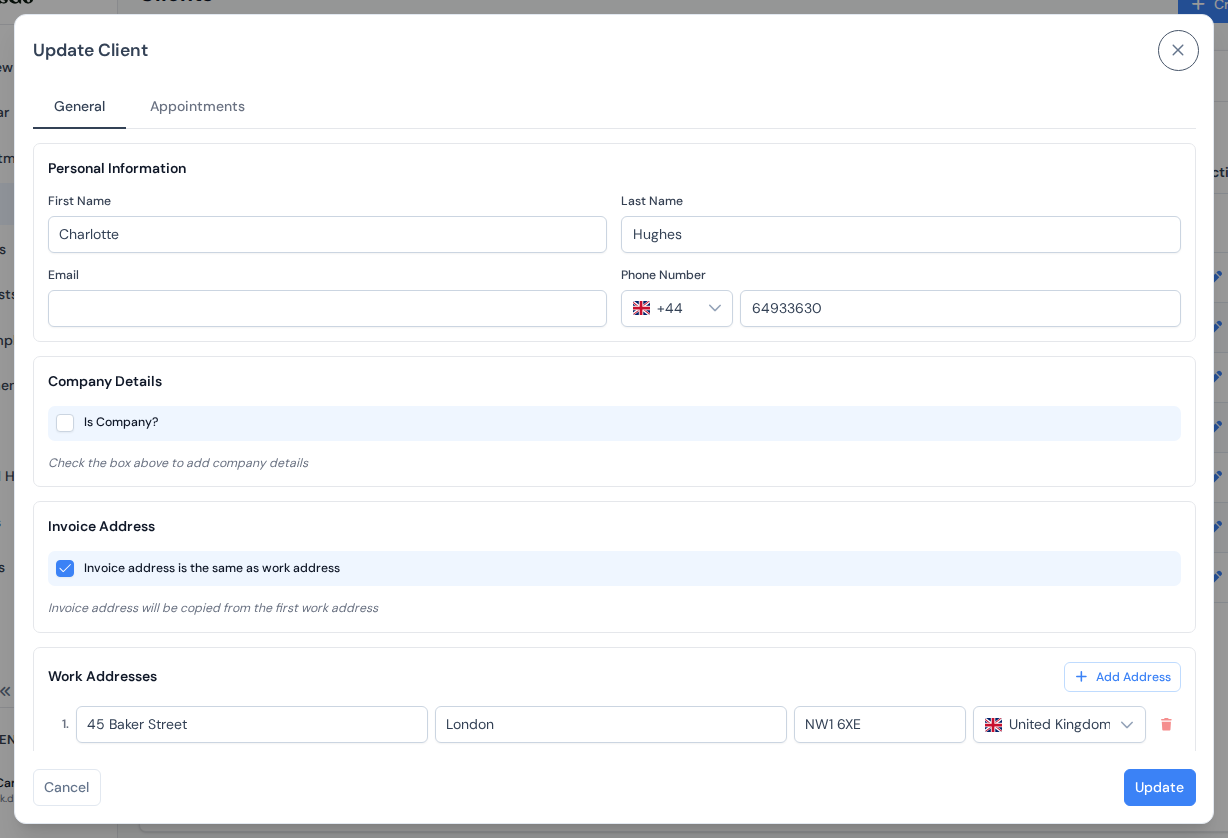
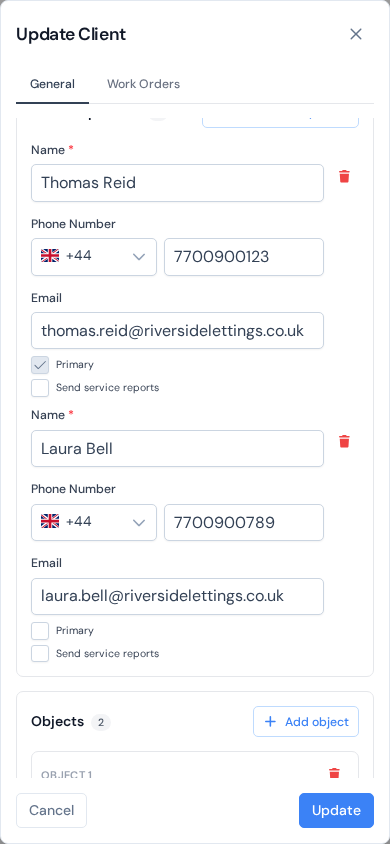
A dialog opens with three cards. The first, "Contact persons", holds the people you talk to about this client's jobs, each with a "Name", a "Phone Number" and an "Email". One person is enough; a company often needs more: the owner who orders, the accountant who wants the paperwork, the manager who answers the phone. Click "Add contact person" in the card's top-right corner for every further person.
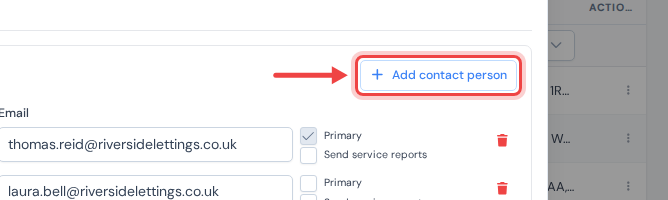
As soon as the card holds two people, every row gains a "Primary" checkbox at its right and a trash icon. Exactly one person is primary: the first one you added, until you tick another. The primary person is who the client is named after in the client list, in the "Client" dropdown of a work order and on the paperwork, and who a new work order proposes as its contact. For a company, the company name comes first and the primary person follows in brackets.

- Phone Number: used for calling, and for the SMS links ServisGo sends for reminders and confirmations. See the client notifications guide.
- Email: for reaching the client and, if set, a separate "Email For Invoices" in the third card.
- Send service reports: this checkbox sits at the right of each row while acts of work are switched on. It marks who should get the finished acts. For now it is only remembered; sending the acts to the ticked people arrives in a later update.
Objects
The second card of the client dialog, "Objects", holds the places where jobs actually happen. A client can have one object or several: a home and a summer house, an office and a warehouse. To add another one, click "Add object".
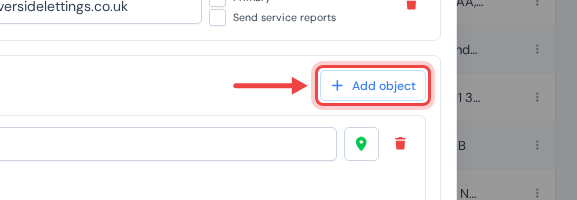
Each row is one address. Start typing in the box that says "Start typing an address" and pick the right line from the list that drops down. The full address fills in, postal code included, and the pin button next to the box turns green to show the place is on the map.
Every object with a green pin can be planned travel to. When you create a work order, you pick which of the client's objects the job is at. That object is where the visit will drive to.
The contact persons of an object
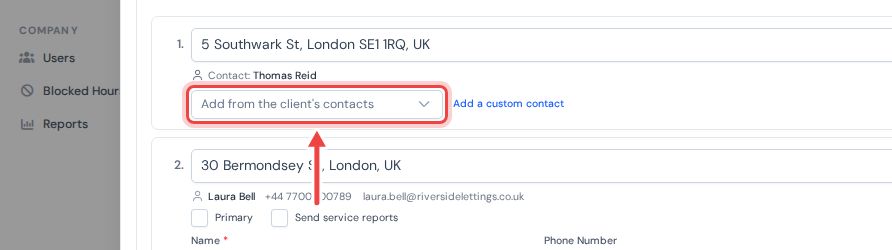
Often the person who books the job is not the person who opens the door: the office manager orders, the caretaker receives. That is why each object can carry its own people. Under every object's address you see "Contact: " followed by the client's primary person, which is who the object uses as long as it has nobody of its own. Below that line, a dropdown reading "Add from the client's contacts" lists the people from the first card who are not on this object yet: pick one, and a line with their name, phone and email appears under the address. The link "Add a custom contact" next to the dropdown adds a person who belongs to this object only, with "Name", "Phone Number" and "Email" fields of their own. (When the first card holds a single person, the dropdown is not needed and the link reads "Set another person".)
The X at the right of a row takes the person off the object. With two or more people on one object, each row gets its own "Primary" checkbox: the primary person of the object is who a work order there proposes first. Each row also carries its own "Send service reports" checkbox while acts of work are on, so the same person can receive the acts for one object and not for another.
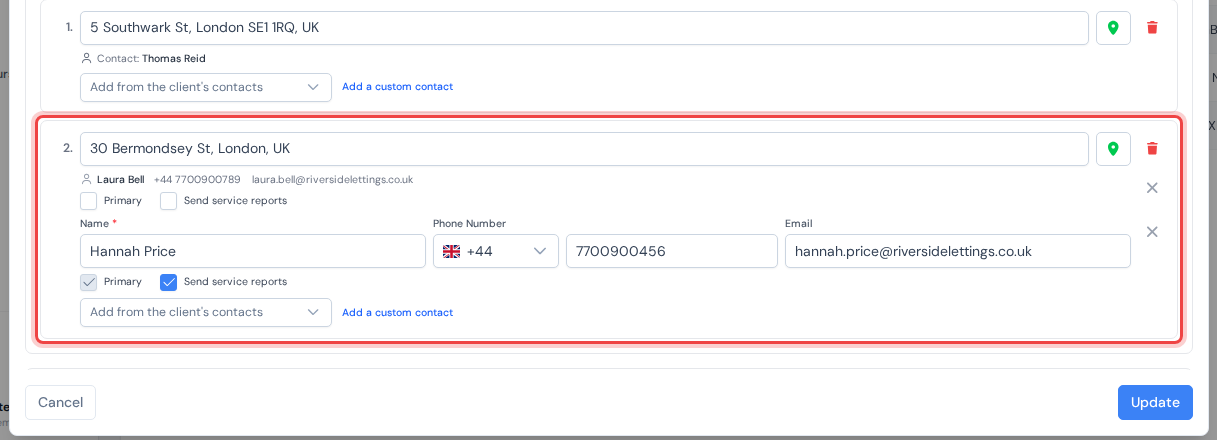
These people are what you choose from when you create a work order on the object: the work order names exactly one of them, and that is the person the "Work Orders" list, the calendar, the phone and email on the work order, the technician's "Call" button in the technician app and the act of work all use. Removing a person from the client list or from an object also takes them off every work order that named them; those work orders switch to the primary person of their object, or of the client.

Company and invoicing
The third card of the client dialog is folded up by default, because most clients never need it: a single row reading "Company and invoicing" with a short summary next to it, either "Private person" or the company name and number, plus where the invoice address comes from. Click the row to open it.

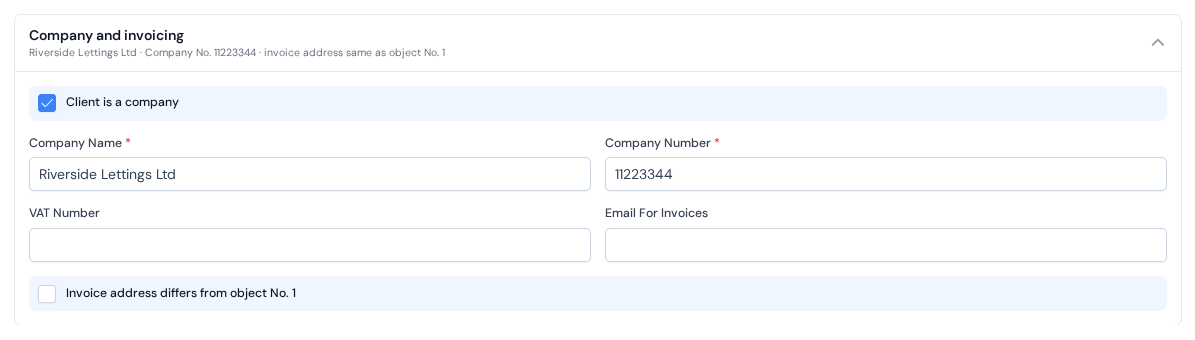
Inside, tick "Client is a company" and the fields "Company Name", "Company Number", "VAT Number" and "Email For Invoices" appear: the details you will need on invoices and acts of work. Below them, the checkbox "Invoice address differs from object No. 1" is unticked by default, so the paperwork carries the first object's address. Tick it and an address box appears for the separate invoice address.
On a phone the same dialog fills the whole screen and the cards stack into one column; each object is labeled "Object 1", "Object 2" and so on, with the trash icon at the right of that label.
The client's work orders
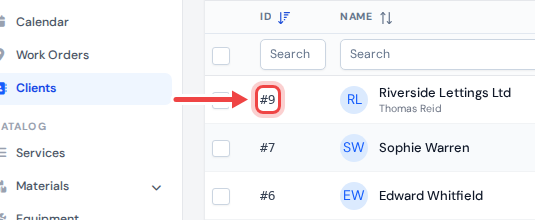
To open an existing client, click "Clients" in the sidebar and then the client's number in the "ID" column. The three-dot menu at the end of the row and its "Edit" item open the same dialog.
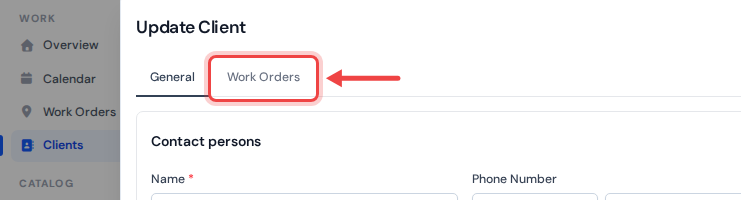
The dialog of a saved client has a second tab, "Work Orders". Click it.
The tab lists every job the client has ever had, newest first. Clicking a work order's number opens that work order right there.
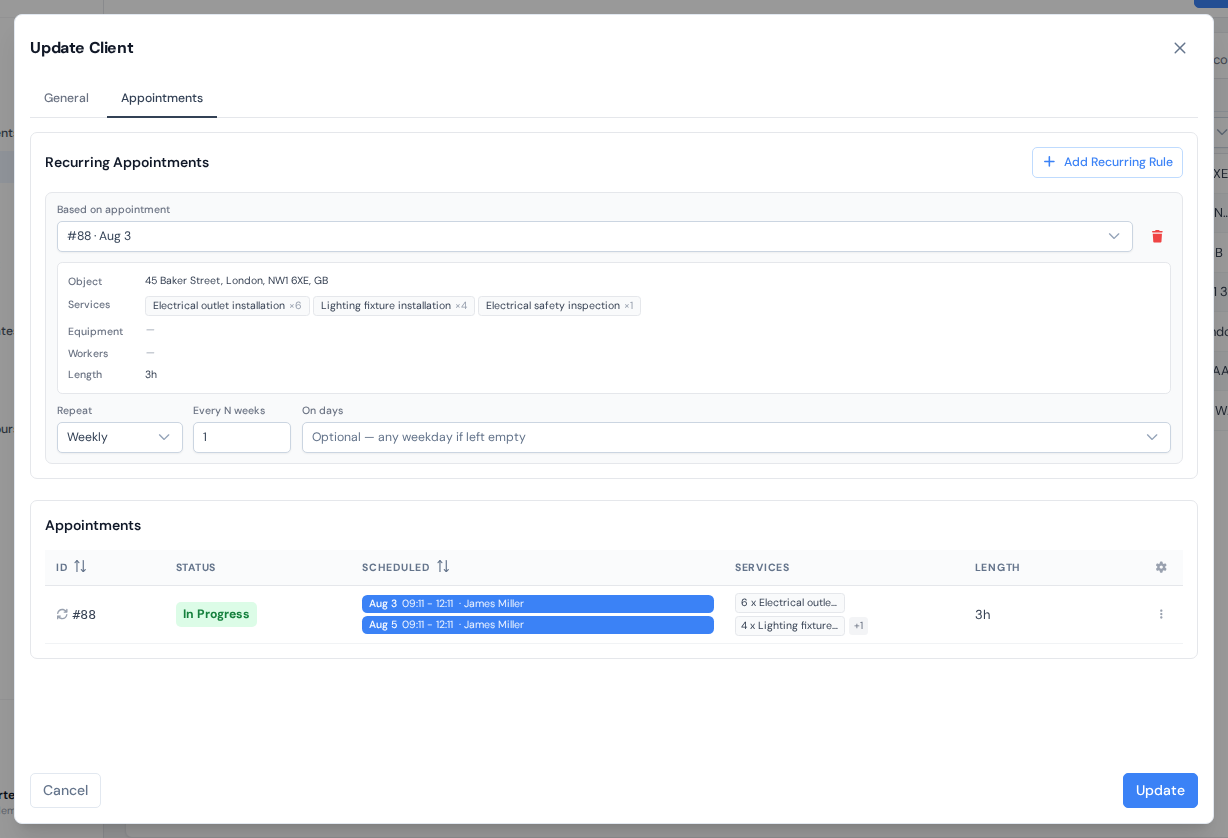
To choose which columns the list shows, click the cog icon.
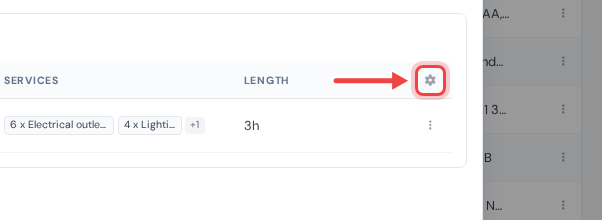
A dialog named "Table columns" opens. Tick a column to show it and drag the rows to reorder them, exactly as for the calendar's side panel. The choice is personal and saved with your account.
The "Recurring Work Orders" card above the list is where repeating jobs are set up for this client. That deserves its own guide: see recurring work orders.