Client signatures
A signature leaves no doubt about who accepted the work, and when. With the "Signatures" feature on, the technician hands the phone to the client at the end of the job, the client signs on the screen, and the signature lands on the work order and on the act of work.
This guide shows how to turn the feature on, what signing looks like in the field, and where the signatures end up.
Turning the feature on
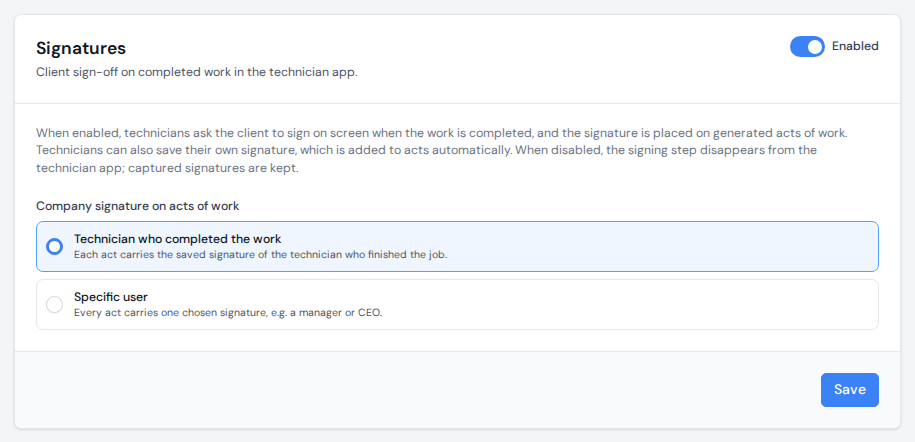
Client signatures are optional. Click "Settings" at the bottom of the left sidebar, pick "Signatures" in the feature list, flip the switch in the top-right corner of the panel to "Enabled", and press "Save".
The same panel decides whose signature represents your company on acts of work, under "Company signature on acts of work":
- "Technician who completed the work": each act carries the saved signature of the technician who finished that job.
- "Specific user": every act carries one chosen signature, for example a manager's. Pick the person under "Whose signature".
Saving your team's signatures
For the company side of the act, each person can store their signature once and let ServisGo place it automatically:
- Technicians draw theirs in the mobile app: the "Account" tab has a "My signature" section with an "Add signature" button.
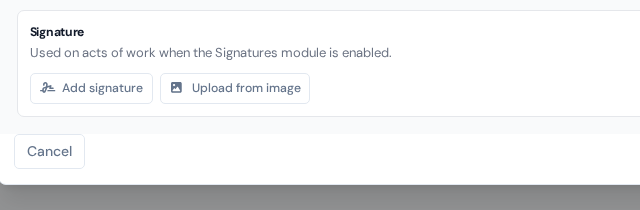
- Office users add theirs in the dashboard: open "Users" in the sidebar, open the three-dot menu on the person's row, pick "Edit", and scroll to the "Signature" card. "Add signature" opens a drawing pad; "Upload from image" reads a signature from a photo or scan and cleans the background away.
Signing on site
The signature is asked for exactly once per job: on the visit that closes it. When the technician marks the final visit "Finished" (or finishes early because everything planned is already done), the "Complete the visit" flow adds one last step after the checklists: "Client signature".
The screen first sums up the "Work performed", visit by visit, so the client sees what they are signing for. Below it, the "Contact person on site" dropdown lists the people of the object (or the client's contact persons when the object has none), with the person picked on the work order already selected; a single person shows greyed out. Picking someone else fills their details into the fields below: "Signer's full name", and, while acts of work are switched on, an "Email" with the caption "The act of work will be sent to this address". Both fields stay editable, in case someone else accepts the work or wants the act at another address, and the pick never changes the contact person of the work order itself. Then the signing area says "Sign here": the client signs with a finger, the technician presses "Mark as finished", and the job is closed.
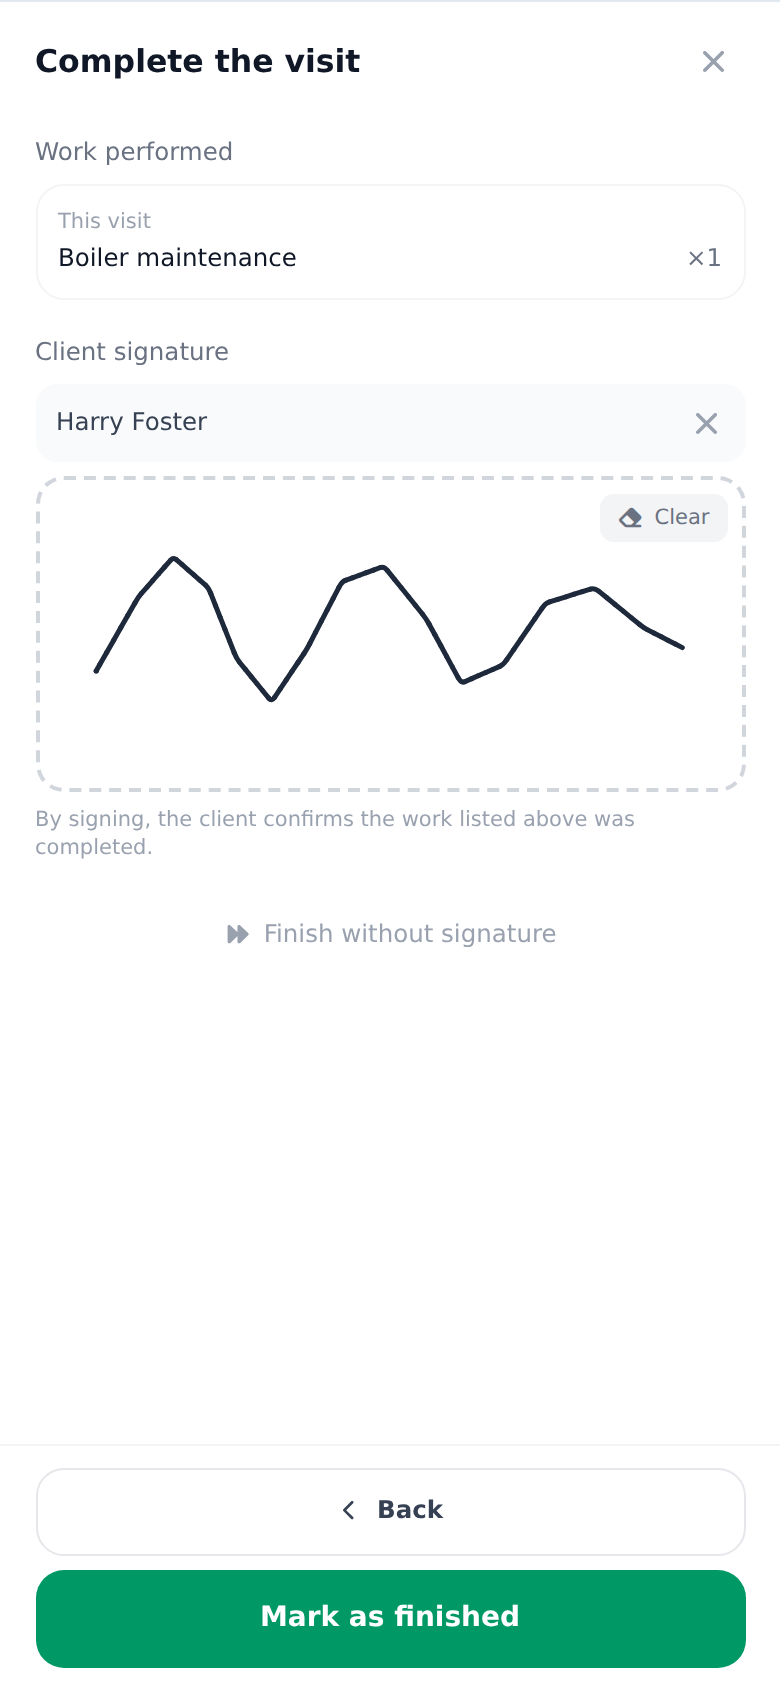
No signature to be had? "Finish without signature" closes the job anyway, and the technician chooses between a plain "Finish" and "Client refused to sign"; a refusal is recorded on the work order so the office knows.
Where the signatures end up
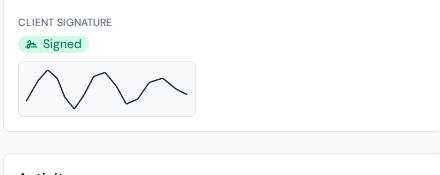
Open any work order (on the "Work Orders" page, open the three-dot menu on its row and pick "View") and the "Client signature" row in its details shows one of three states: "Signed" with the signature image, "Refused", or "Not signed". Point at the status to see when it was signed and by whom.
The work orders list can show the same state as a "Signature" column: click the cog icon in the table's header row and tick "Signature" in the "Table columns" dialog. Filter it to find every unsigned or refused job in one look.
On the act of work, the "Signatures" block fills in by itself: the client's drawn signature is printed over the customer line with their name and the signing date, and the company line carries the saved signature you chose in the settings.