Checklists for consistent field work
A boiler service has steps that must never be skipped. A safety inspection has readings that must always be written down. Checklists make sure that happens the same way on every job, no matter who does it.
You build a checklist once, attach it to a service, and from then on it travels with every work order that includes that service.
Turning the feature on
Checklists are optional. To turn them on, click "Settings" in the left sidebar, pick "Checklists" in the module list on the left, flip the switch in the top-right corner of the panel from "Disabled" to "Enabled", and click "Save". A new "Checklists" entry appears in the left sidebar right away.
Building a checklist
Click "Checklists" in the left sidebar, then the "Create Checklist" button in the top-right corner of the page. A dialog opens where you name the checklist and build it up question by question with the "Add item" button. A checklist is a list of questions, and you choose the type of answer each one expects:
- Short text or Long text: free-form answers.
- Number: readings and measurements.
- Yes / No: quick checks.
- Single choice or Multiple choice: pick from options you define.
- Date, Time and Photo: for timestamps and visual proof.
- Section: a heading to group questions.
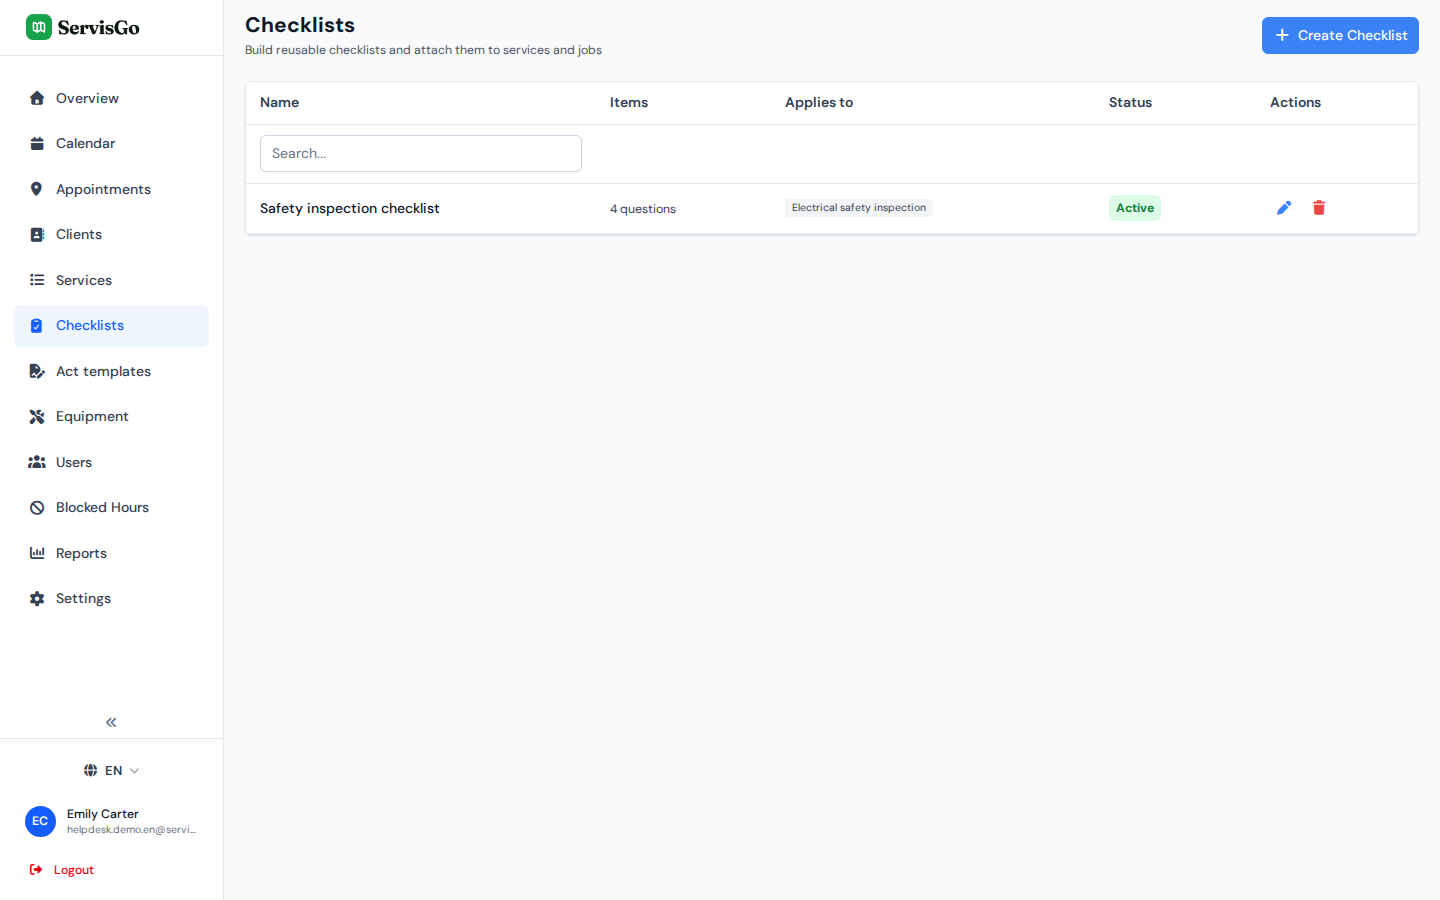
The key field in that same dialog is "Applies to services". Attach the checklist to one or more services, and every work order that includes those services gets the checklist automatically.
Checklists on work orders
When you create a work order, its checklists are added automatically from the selected services. You can add or remove them freely per work order. The automatic link is just the starting point.
Technicians fill the checklists in from their app during the visit. The answers appear on the work order as they are saved, so you can follow along from the office: open the work order (on the "Work Orders" page, open the three-dot menu at the end of its row and pick "View") and find the "Checklists" card. Each checklist there shows who filled it and when, or "Not filled yet". The eye icon next to it opens the answers; the pen icon lets you fill or correct them yourself.

Checklist answers can also be printed into acts of work: add the "Checklists" block to your act template and the answers become part of the document. See the acts of work guide.